How To Build a PC (Non-GPU Version)
Hello
everybody, I hope everyone has been doing fine throughout this COVID-19
situation. Today, this blog will be a simple How to Build a PC without a GPU or
Graphics card.
Firstly, to
start building a PC, a Philips head Screwdriver is needed. Preferably ones that
enable the switching of heads, from bigger ones to smaller ones.
Secondly,
cable ties are preferred to be available as cable management usually allow for
a much neater and presentable PC.

As we start off by building the PC, we need to take out the motherboard from the box. The motherboard I am using is the ASRock A320m HDV R4.0. This board is a basic board that provides the most basic for the user. As this PC is used for work and home uses, its naturally fit for this tutorial.
In order to
put the CPU into the socket of the motherboard, we have to first find the
triangle indicator on the motherboard.

It is shown with the red circle and you need to match it with the golden triangle located on the processor. After matching it , one just have to lift the retraction and just simply put the processor in.

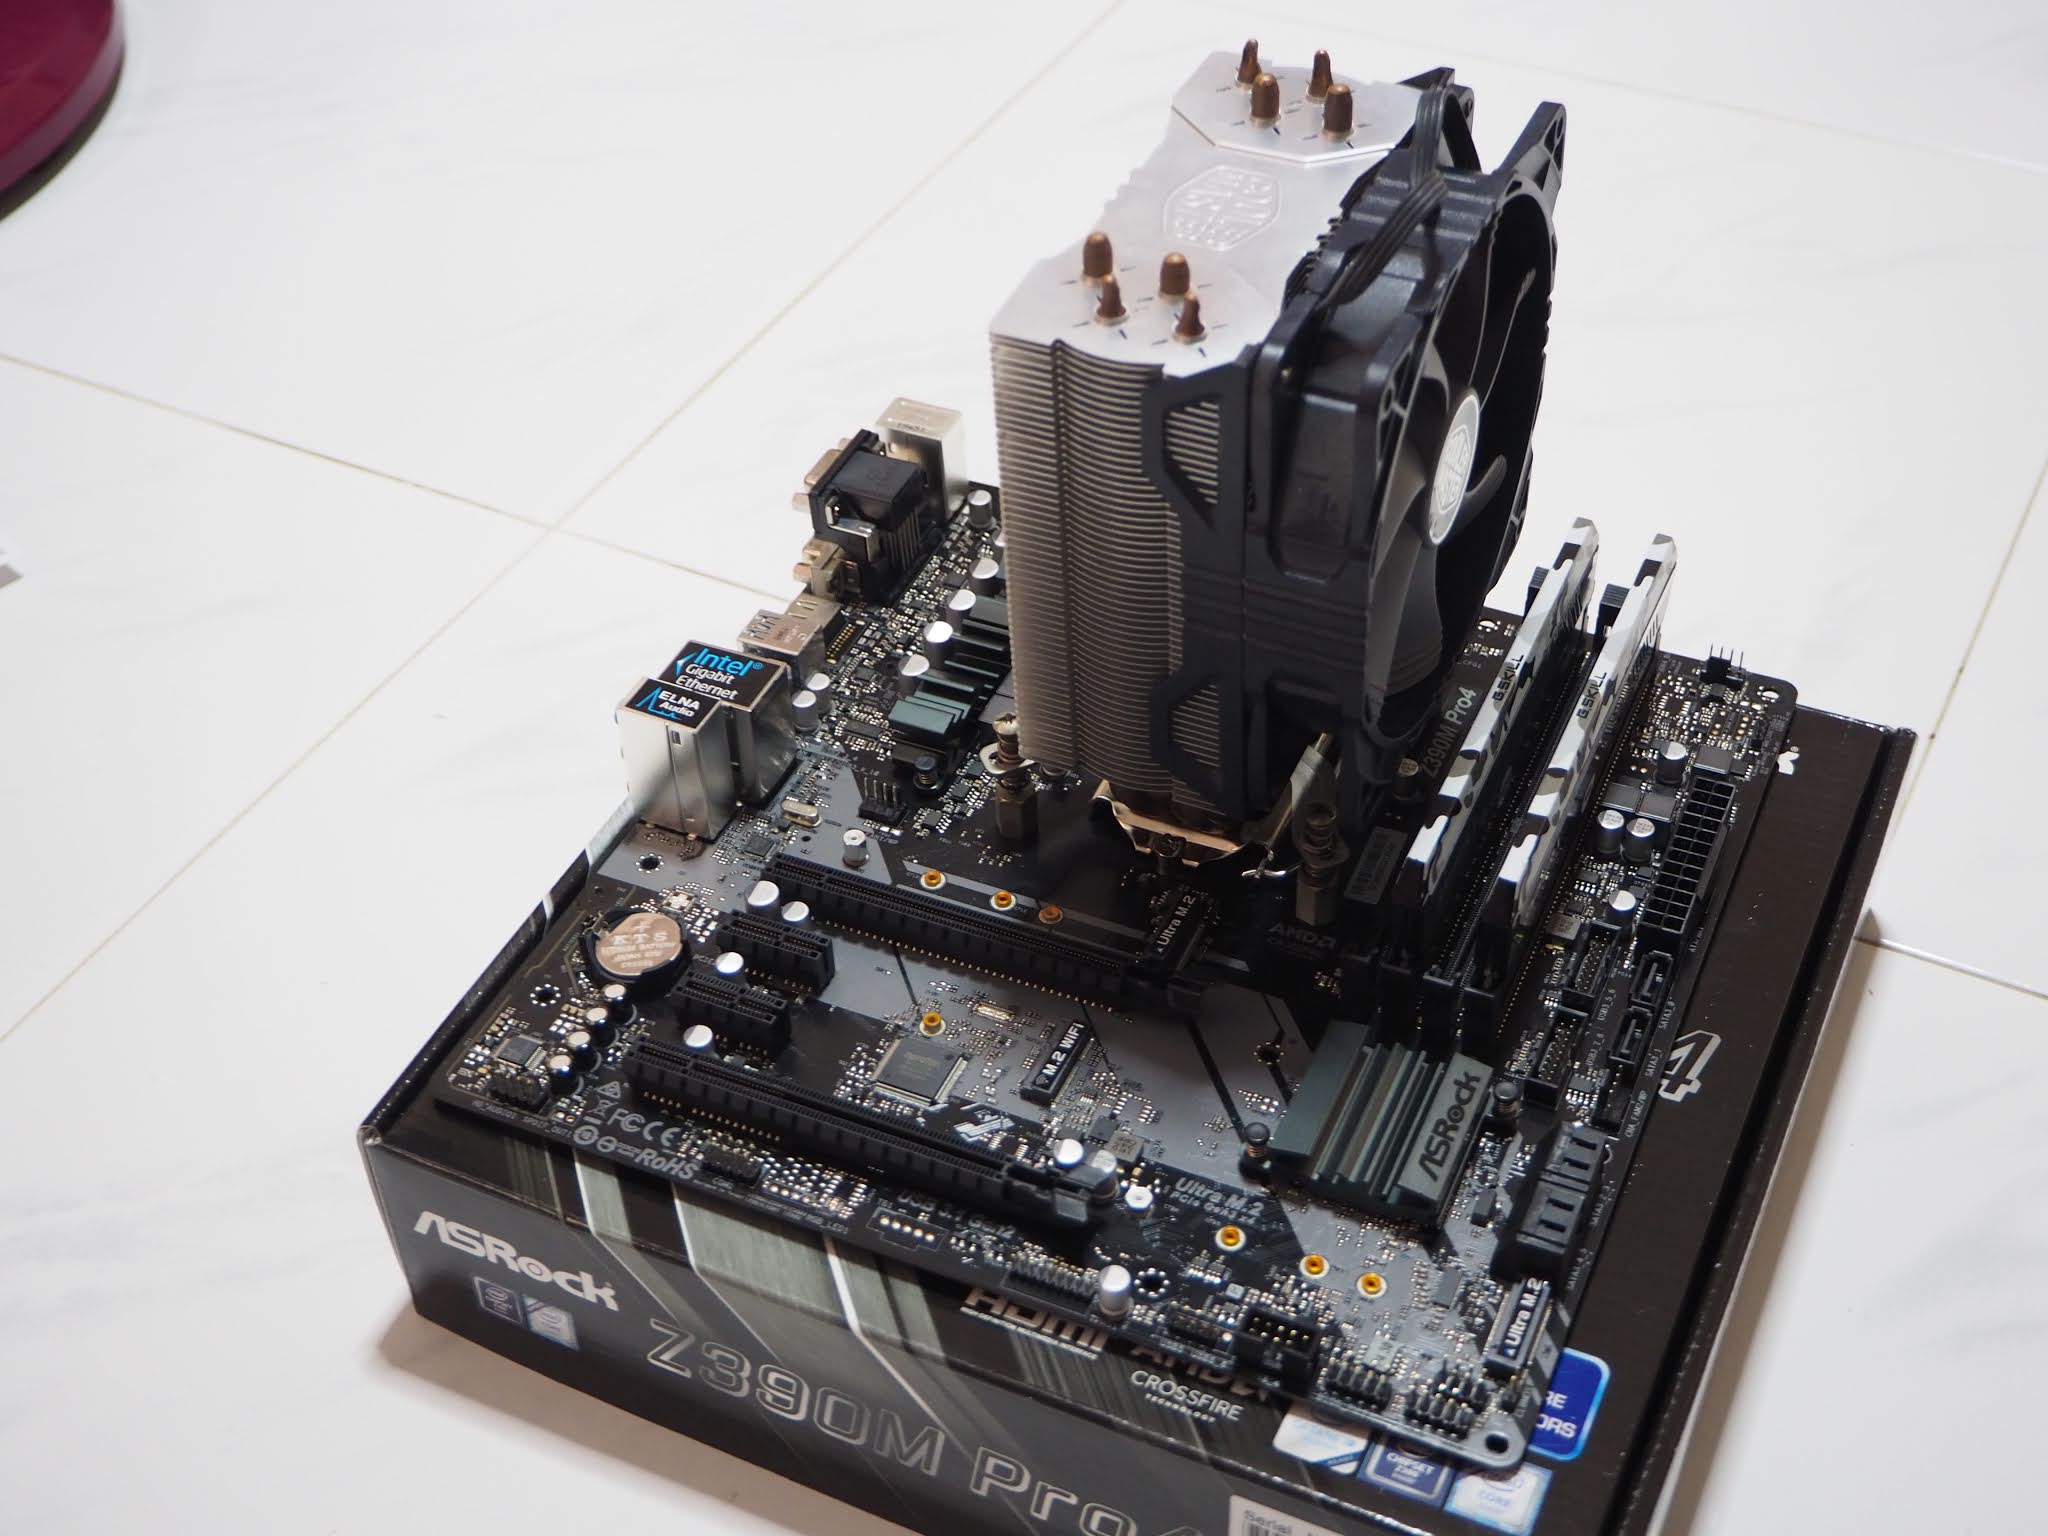
As the CPU cooler that we are using doesn’t come with Thermal Paste applied, we have to apply a bit of Thermal Paste on the CPU in order to allow heat conduction to the fan to dissipate heat.
After
applying the paste, we need to install the CPU Cooler. The cooler of choice
today is the Wraith Stealth Cooler by AMD themselves, which is easy to install.
One must remove the brackets on the brackets as indicated in the photo below
(First Photo) and install the fan by screwing the screws into the board. The
aftermath is shown in the second photo.


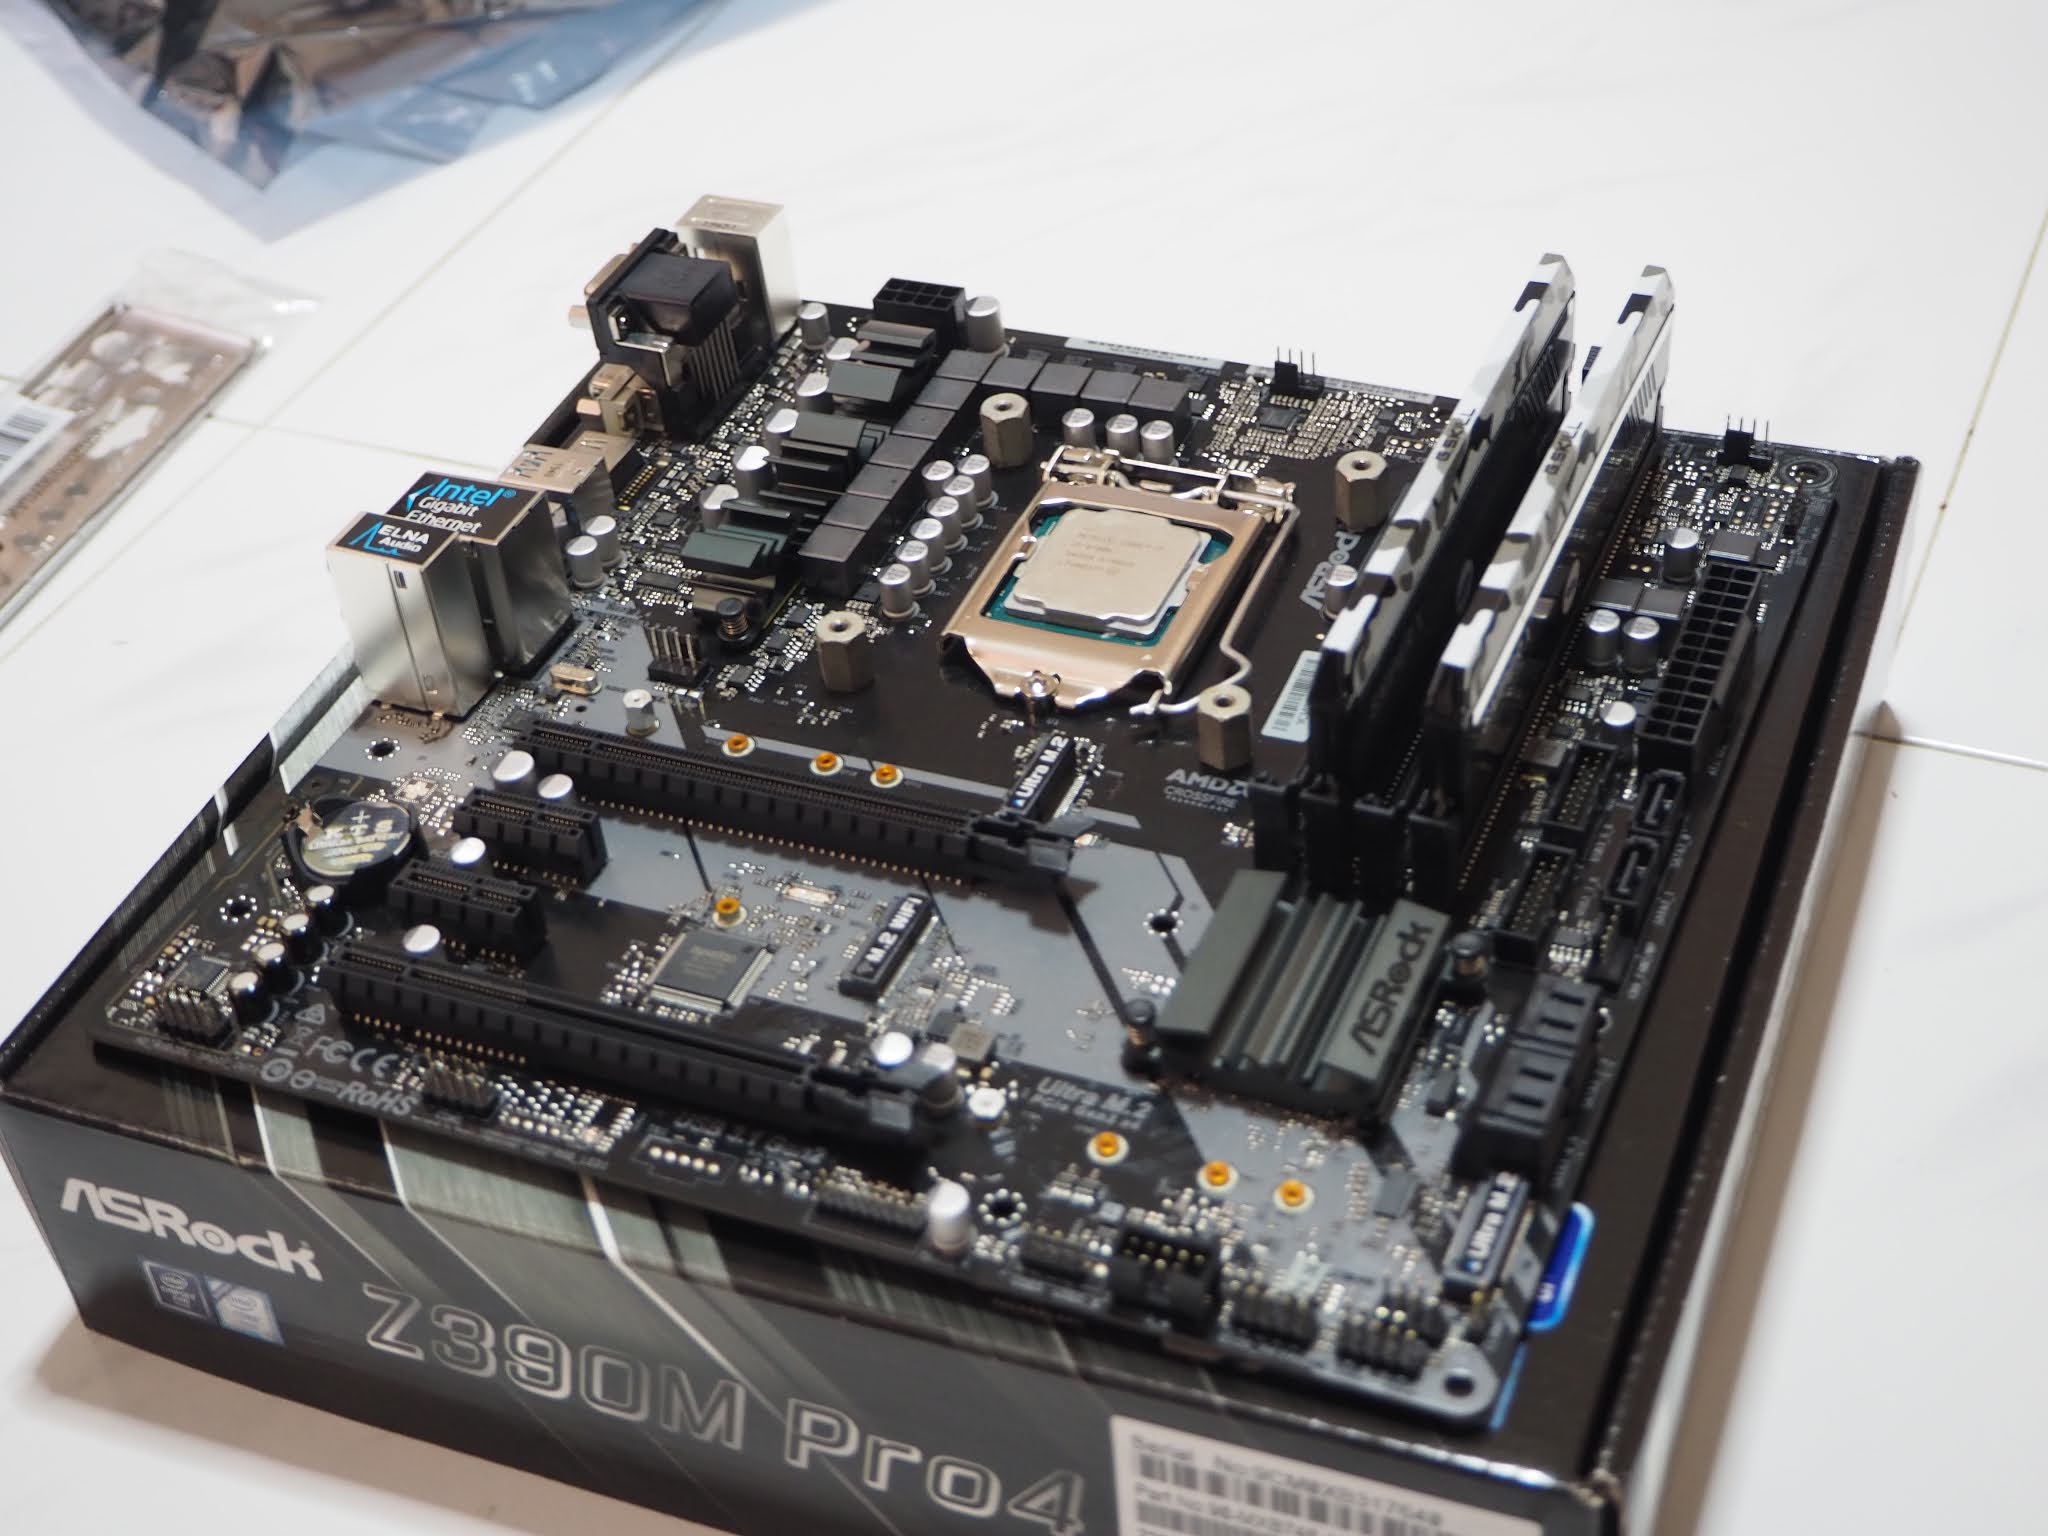
Next is
installing the RAM stick. Today I will be using a simple G.skill Performance
RAM 8GB 2666mhz stick as shown below.

The installation is simple as you just need to open the 2 Clips located In a Vertical Line which is located on the motherboard.
Shortly
after that, one can safely install the M.2 Solid State Drive. The one I will be
using today is the Klevv Cras C710 512GB Nvme M.2 SSD shown in the photo below.

Using the
M.2 Screw provided in the motherboard box, we can install this onto the Ultra
M.2 Slot on the motherboard. And the result of installing the RAM and SSD is
shown in the next photo.

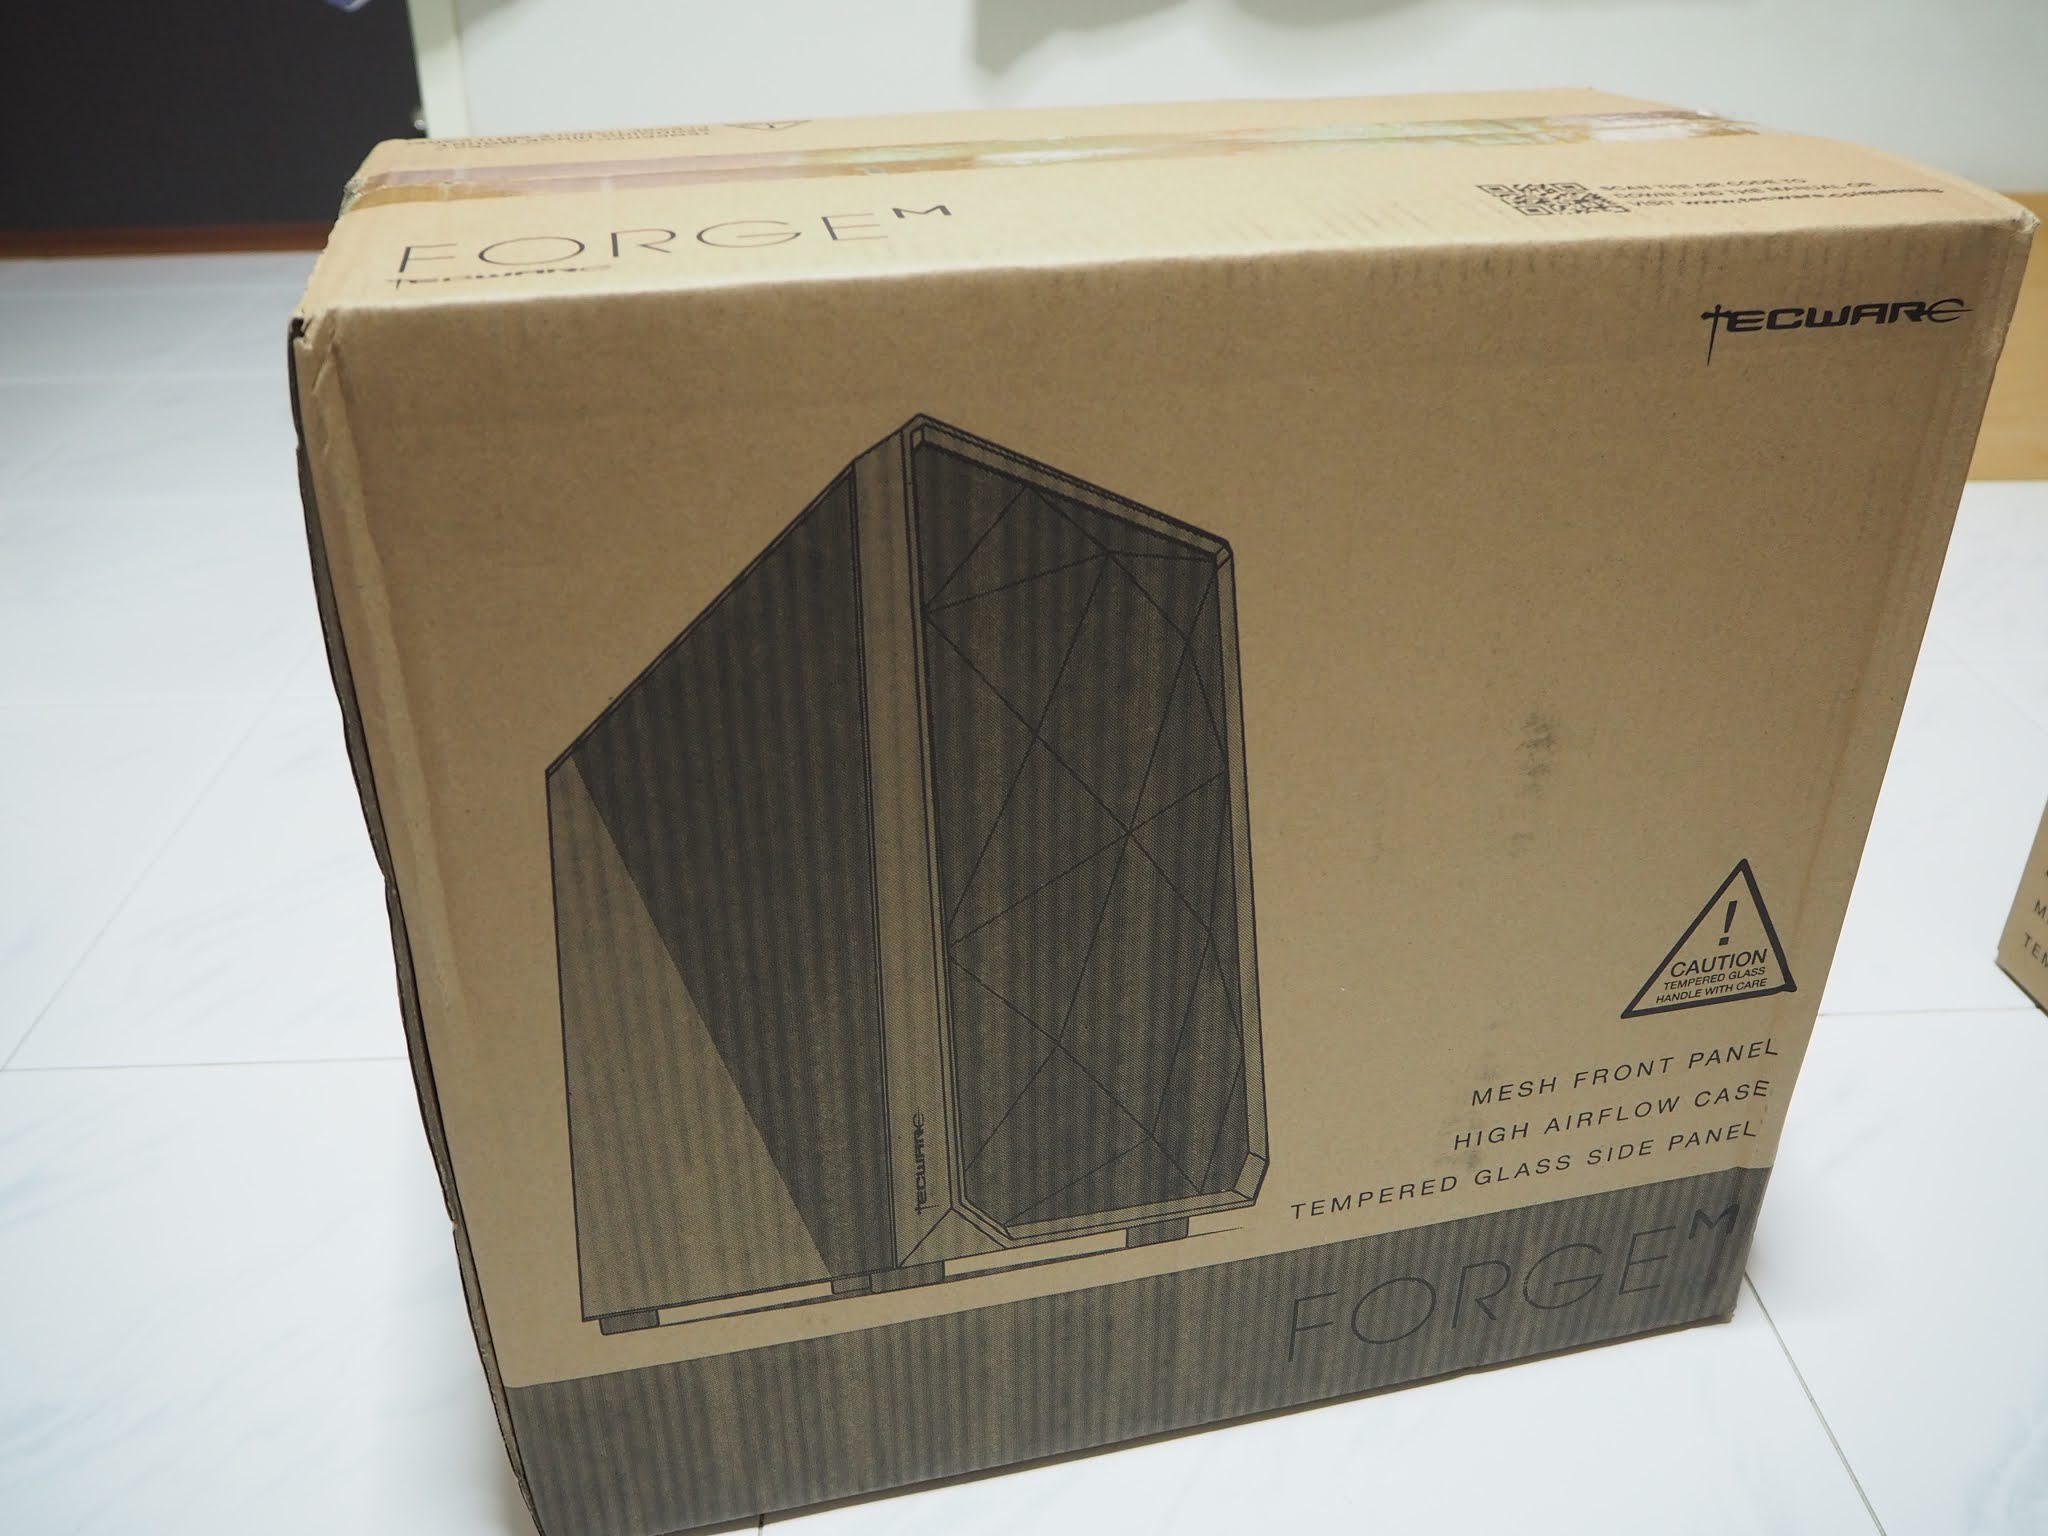
After
assembling all the core components onto the motherboard, the casing was taken
out of the box. The case that I am using today is the Tecware Forge M case. It
has a tempered glass door like feature that should be taken out before we start
working on installing the parts in the case.

The case is
quite spacious and allows for space for cable management at the back. It also
contains 4 case fans that help to improve airflow which is very impressive.
The power
supply or PSU of choice is the FSP Hyper K 500W. As this is a work and home PC,
500W is simply enough to power everything.

After
installing the PSU and the IO shield from the motherboard, this is how the case
looks like.

After doing
the step above, we need to figure out if stand-offs need to be installed on the
motherboard and after that we need to screw the motherboard onto the PC. Below
shows result of the process.

Plugging the
cables in is the next thing that is needed to occur. An important advice is to
slowly work your way and connect the cables. The end results are shown in the
photo at the bottom.

And that is
the PC all built. The next important thing is to have a Thumb Drive with
Windows OS Setup on hand. You could pre-install it on the drive on your laptop
before-hand or ask a friend to help you with it.
After
placing all the glass and parts back to its original position, we are left with
a beautiful, dark, shady PC to look at. Illuminated with my phone lights, this
is how it looks like.

As we come
to the end of the blog, I hope that everyone will be able to stay safe as
COVID-19 is still spreading around. I also hope that this will enable the
readers to be able to get some knowledge about simple PC building.

Parts list used (Prices are in
SGD/CAD/AUD):
CPU- Ryzen 3 2200G (4 Core/ 4
Threads) (Used) (70)
Motherboard- ASRock A320m HDV R4.0
(Used) (40)
RAM- G.skill Performance 2666mhz 8GB
(New) (45)
SSD- Klevv Cras C710 512GB Nvme M.2
SSD (New) (90)
PSU- FSP Hyper K 500W 80+ Non-Modular
(New) (60)
Case- Tecware Forge M Matx Tempered
Glass Case (New) (45)
Total Cost – 350 Dollars
Building stream is on this url: https://www.twitch.tv/videos/801473150